
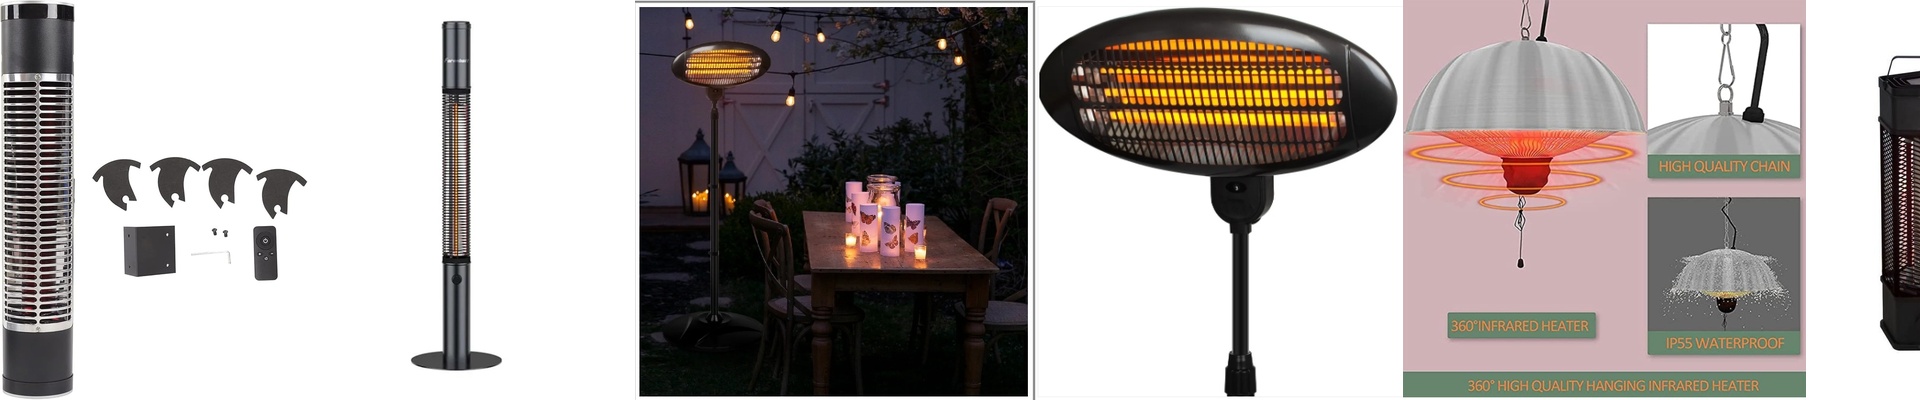
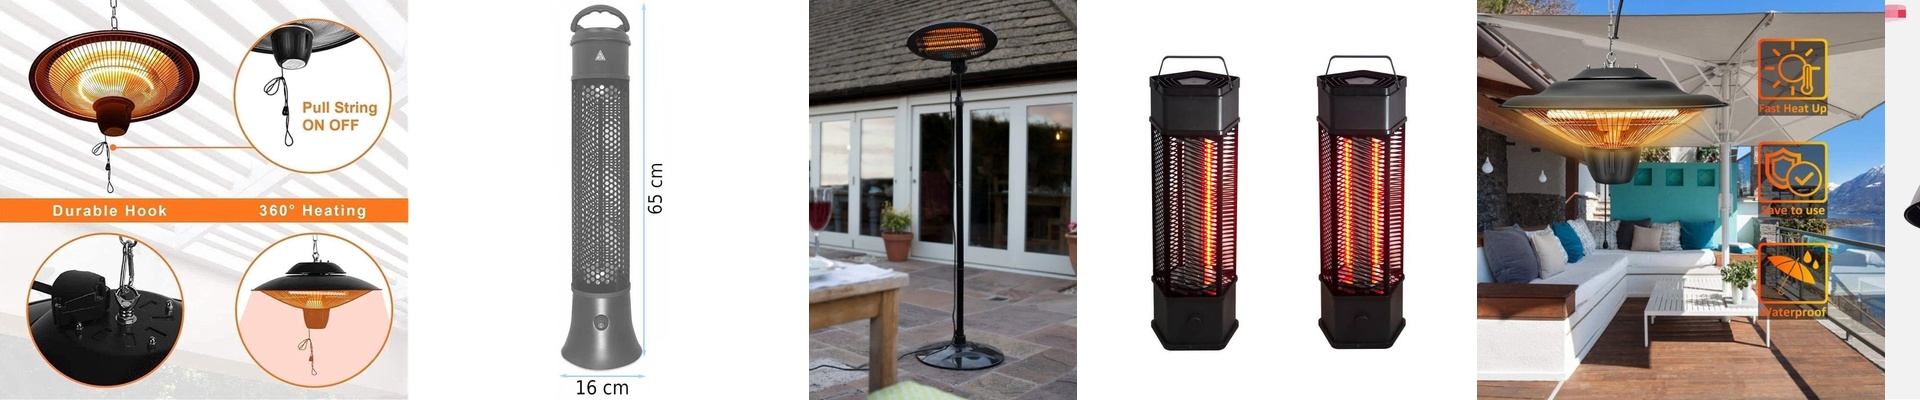



Putting an infrared heater in a bathroom is a bit of a battle. You’re basically fighting a constant war against steam and humidity. A basic heating element just won’t cut it here. You need something that actually keeps the electricity where it belongs, so you aren’t risking a shock the second the room gets foggy. Keeping the power in check We make sure the electricity stays far away from the outer shell. The lamp sits in sockets made of high-temp ceramics or reinforced polymers—basically, materials that act like a wall. We make sure there’s zero metal-to-metal contact between the live parts and the ceiling mount. And if you’re using a metal housing? You’ve got to ground it. Simple as that. A dedicated earth wire is your safety net; it stops the whole casing from becoming “live” if a wire happens to fray or a seal gives out. Stopping the leaks Steam finds every little gap it can. To stop that, we use IP-rated gaskets and silicone seals right where the wires enter the unit. We also tuck the connectors—usually those R7s bases—deep into the fixture. This keeps water droplets from jumping the gap between the pins. Even the wiring is different. We use silicone or Teflon jackets because standard PVC just can’t handle the heat and damp. It’ll crack, peel, and leave your copper wires exposed. Not a good look. The tricky part: Heat vs. Air Here’s the thing: sealing a unit too tight can actually backfire. While you’re keeping the moisture out, you’re also trapping the heat inside. If there’s no room for the unit to breathe, the internal temperature spikes. That’s how you end up with a burnt-out lamp or melted insulation. It’s all about a balancing act. You want a tight seal to keep the steam away, but you still need a bit of airflow so the heater doesn’t cook itself from the inside out.